
Pomegranates seemed to have dried nicely, so lets try a different fruit! I have successfully dried a pear. Does it taste okay? I don’t know, but it looks right. Or at least I assume, since this is the first time I’ve done it.
The first thing to do is magically acquire a pear. I say magically because my mother-in-law gave me a couple pears and I decided to experiment with one of them. Then peel the pear. Sounds pretty simple so far, right? Cut slices about 1/4 inch thick. You are probably supposed to cut them evenly but I am not good at doing that. Make sure not to use the seeds or core.
So what I did different was I threw the cut pieces of pear into 1 quart of water and added 1 1/2 tablespoon of lemon juice in the water to keep the pears from browning.

As soon as I was finished slicing, I drained the pears into a strainer to get as much water off as possible. I noticed that some of the pear was starting to disintegrate, so don’t keep the pears in the lemon juice water long at all. Next, lay the pear slices onto a baking sheet and space them so they are not touching.
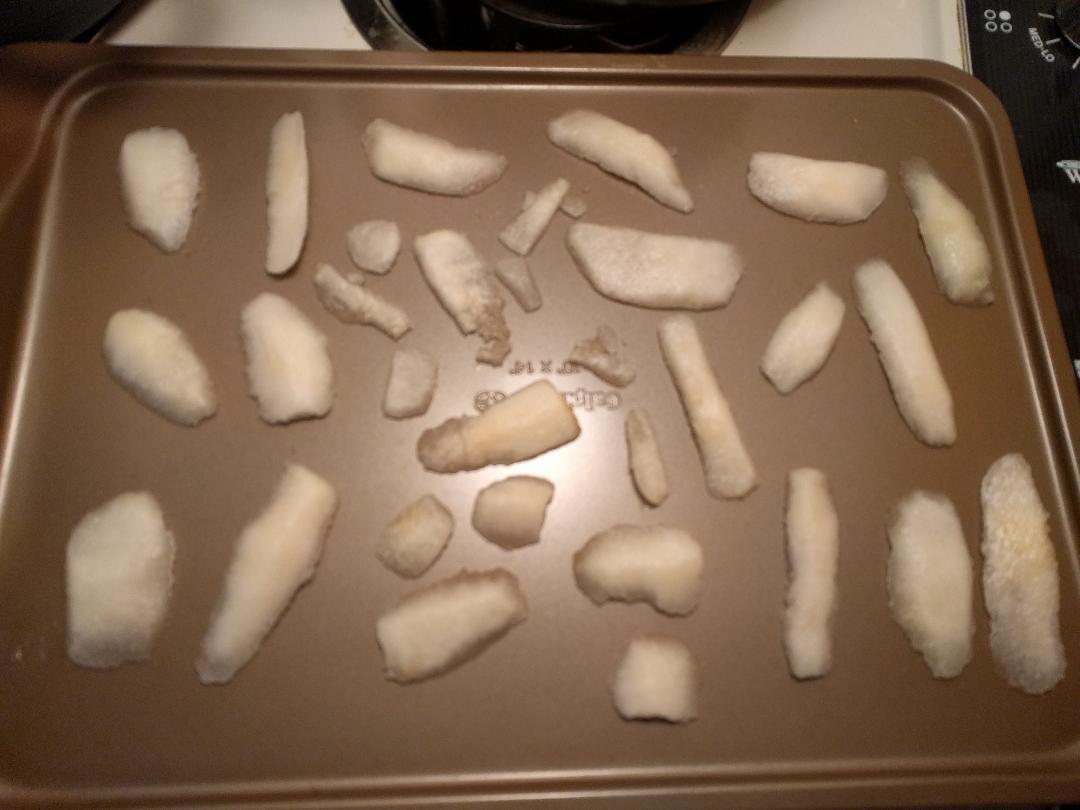
Oh I forgot! Preheat the oven to 150-200 degrees! Okay, moving right along. Place in the oven for about 6 hours. After a half hour I checked on the pears and they were extremely watery. I used a paper towel to dab off some of the extra water and that seemed to do the trick. At about 3 hours I flipped the pears over. You want the pears to dry to a leathery or crisp texture.

Let the dried pears cool on the baking sheet for 20 minutes and proceed to “condition” those beauties. What? Use a temporary glass jar to fill no more than 2/3 full. A couple of times a day shake the pears for one week to mix the pears around. If condensation shows on the jar, the pears are not completely dry and should go back in the oven for an hour or two.
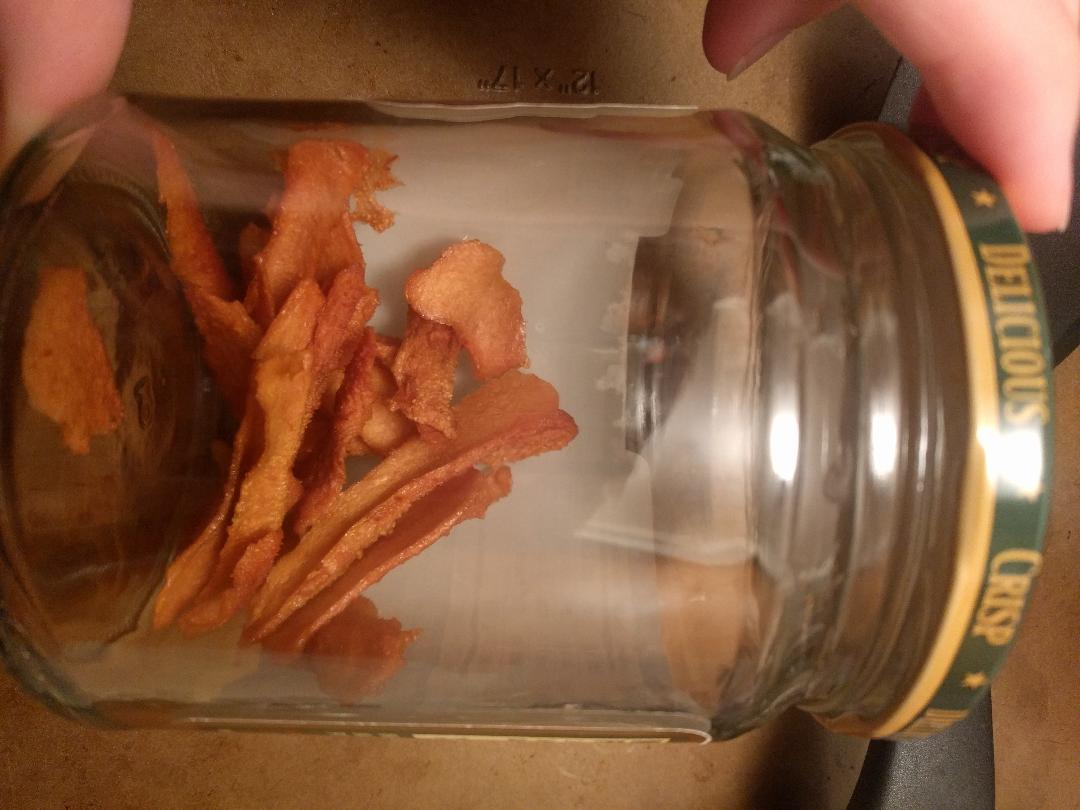
Mine were good to go. I cut the pears into smaller pieces before storing in an airtight container. Ta da! Time to mix some teas using pear!
